
Improperly terminated wiring is a common source of motor controller problems. Loose strands, poor contact, and wires that pull free as a robot moves lead to shorts, faults, and connections that fail intermittently. Proper termination with crimp terminals, ferrules, tinning, or correct bare-wire technique prevents all of these.
This article covers the right ways to terminate the wiring used with BasicMicro motor controllers, the problems that improper termination causes, and the correct way to connect bare wire when you have no other option.
Why Does Proper Wire Termination Matter?
Bare stranded wire might seem like the way to go when wiring your motor controller. However, bare strands present several problems. A strand or two can escape the terminal and short against an adjacent terminal, and it only takes one loose strand for this to happen. An unsecured wire can also work its way out of the terminal as your robot moves around, and a loose wire end can easily cause a short somewhere else on the board or land against the heat sink.
The most reliable termination methods are crimp-on ring or spade terminals and wire ferrules. Tinning stranded wire with solder also works but loosens over time as the solder compresses under the screw. When bare wire is the only option, looping it clockwise around the terminal screw keeps the connection snug. The sections below cover each method in turn.
When Should You Use Crimp Terminals?
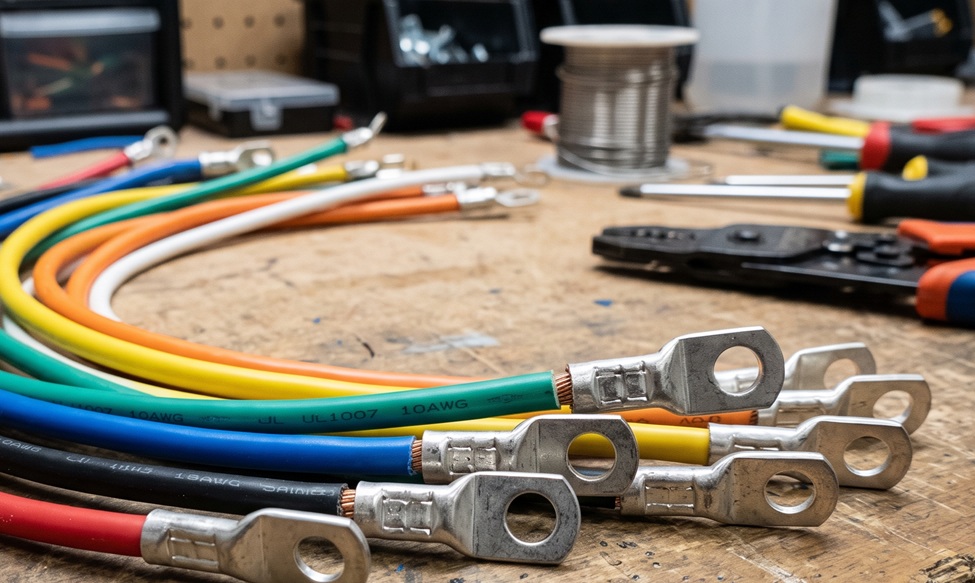
Crimp-on terminals are the most reliable termination for screw terminals and the method we recommend first. They come in two broad types: the forked type, known as spade terminals, and terminals with a closed ring. A ring terminal works well for connections you only occasionally remove, since the screw must come all the way out to release it. A spade terminal is useful when you connect and disconnect on a regular basis. You will need the appropriate terminal for your wire gauge and a matching crimper to attach them.
DigiKey stocks ring terminals for a wide range of wire gauges. The table below lists suggested ring terminals by wire size. Terminals are also available from your local auto parts and hardware stores.
| Wire Size | Terminal | Where to Order |
|---|---|---|
| Up to 8awg | Ring Terminals, 8 Pack (for RoboClaw 2x200A) | BasicMicro IMC606 |
| 10-14awg | Phoenix Contact 3240084, M5 stud | DigiKey 277-11158-ND |
| 8awg | Phoenix Contact 3240089, M5 stud | DigiKey 277-11162-ND |
| 6awg | TE Connectivity 55679-2, 1/4 inch stud | DigiKey A28245CT-ND |
BasicMicro sells a Ring Terminals, 8 Pack sized for the larger RoboClaw 2x200A, which utilizes custom-designed screw terminals. Standard terminals are also available from DigiKey for the RoboClaw 2x200A.
What About Wire Ferrules?
A wire ferrule is a thin metal sleeve that crimps over the stripped end of a stranded wire, gathering all of the strands into a single solid pin. Ferrules are the standard solution for stranded wire in clamp-style screw terminals: no strands can escape, the clamp bears on metal rather than on individual strands, and the connection does not loosen the way a soldered end can. Ferrules are sized by wire gauge and are inexpensive, but they do require a dedicated ferrule crimper. If you wire controllers regularly, a ferrule kit and crimper are a worthwhile investment.
Should You Tin Wire Ends with Solder?
If you do not have crimp terminals or ferrules on hand, twisting the wire strands together and then tinning them with solder is a workable second choice. Tinning solves the stray strand problem and gives the terminal screw a solid surface to bear on.
Solder slowly deforms under the constant pressure of a terminal screw, a behavior known as cold flow, so a tinned connection can loosen over time. If you use tinned wire ends, check and re-tighten the terminal screws periodically. For a connection that stays tight, use a crimp terminal or ferrule instead.
How Do You Connect Bare Wire to a Screw Terminal?
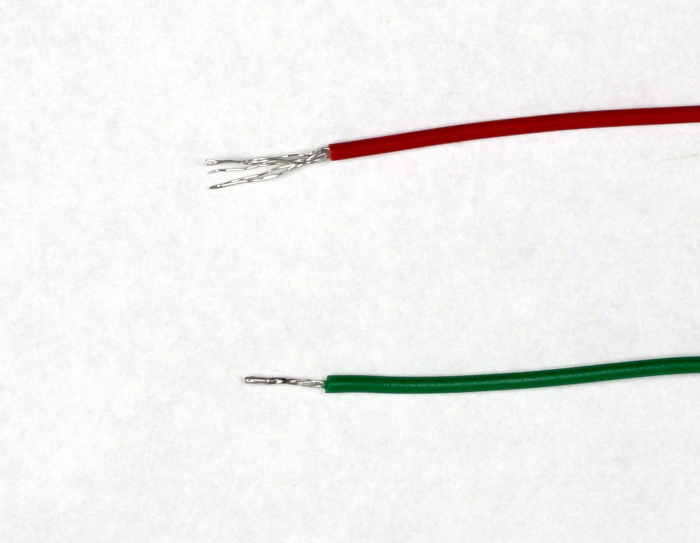
If you do need to connect bare wire to an open screw terminal, there is a right way and a wrong way to do it. Figure 3 shows the wrong way: the strands are not twisted together and loose strands are left exposed at the terminal, where they can fray and cause shorts.
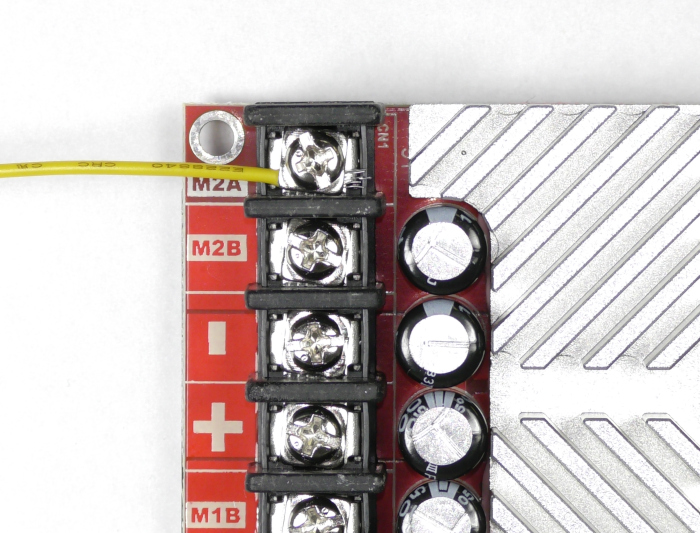
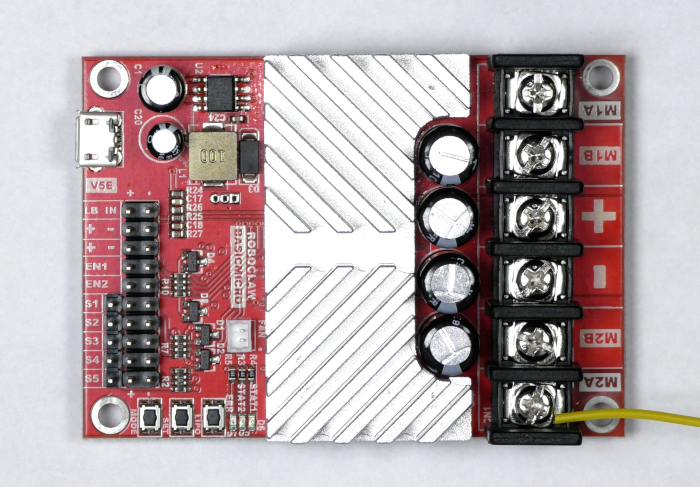
To do it correctly, first twist the wire strands together so none are loose. Then loop the wire around the screw in the clockwise direction before tightening, as shown in Figure 4. The rotation of the screw pulls a clockwise loop snug as it tightens. Looped counter-clockwise, the same rotation pushes the wire out from under the screw head, leaving a loose connection and frayed strands.
Next Steps
With your wiring properly terminated, your motor controller connections should stay reliable without tinkering. If you are setting up a controller for the first time, RoboClaw Basics walks through the fundamentals. To protect your controller from electrical faults beyond the wiring itself, see Motor Controller Protection: Diodes, Clamps, and Pre-Charge Resistors.


