
This article is deprecated. The USB drivers for RoboClaw and MCP controllers are included in the Motion Studio installer, and Windows 10 and 11 include standard USB serial drivers, so no separate driver installation is normally required. It remains here for users who need to manually install just the USB driver.
For current installation instructions, see Installing BasicMicro Motion Studio. The steps below are only needed if Windows does not recognize your controller over USB after installing Motion Studio.
On rare occasions, usually on older systems, Windows may fail to recognize a RoboClaw or MCP controller as a virtual COM port. In that case the USB driver can be installed manually using the standalone driver package from the downloads page. The procedure below walks through it.
How Do You Manually Install the USB Driver?
- Download the Windows RoboClaw drivers from the BasicMicro downloads page.
- Go to the folder where your downloads are stored and locate the file “USBRoboclawVirtualComport”. Right click the file and select “Extract All” from the menu presented. A new window will appear prompting you for a location to unzip the files to. Set a location for the extracted files or leave it set to the default, then click “Extract” to unzip the files.
- Open the unzipped folder and note that there are two driver files. Double click on Dpinst if you have a 32-bit system or Dpinst64 if your system is a 64-bit system.
- A window will open asking if you want to allow the program to make changes to your computer; click “Yes”.
- The device driver installation wizard will now open. Click “Next” to install the driver.
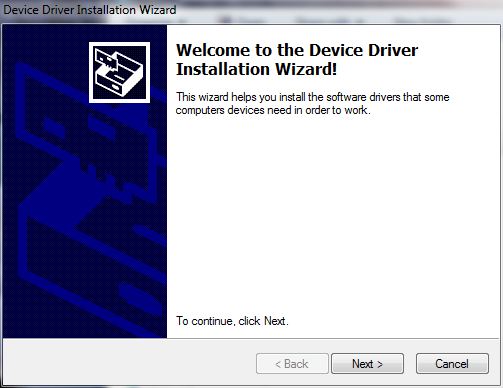
Figure 1: Clicking “Next” starts the driver installation. - A final window will open letting you know the driver was installed. Click “Finish” to complete the installation.
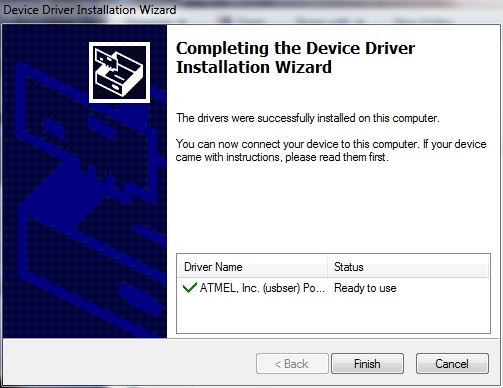
Figure 2: The completion of the driver installation.
Next Steps
With the driver installed, follow Installing BasicMicro Motion Studio to install the software and connect your controller.