

Multiple RoboClaw’s can be used simultaneously when controlled by a microcontroller or computer. The Raspberry Pi is one suitable choice. This Application Note covers using a Raspberry Pi 3 to control 4 RoboClaws in standard serial mode.

Standard Serial with the Raspberry Pi 3
This Application Note details how to operate the RoboClaw in standard serial mode using a Raspberry Pi 3. In standard serial mode the RoboClaw accepts single byte commands that control the operation of both motor channels.

Packet Serial with the Raspberry Pi 3
In this Application Note a Raspberry Pi is used to control a RoboClaw in packet serial mode. In packet serial mode the Raspberry Pi can send commands to the RoboClaw as well as read data from the it.

Configuring the Raspberry Pi 3 Serial Port
The Raspberry Pi 3’s GPIO serial port must be freed from the Linux serial console before it can talk to external hardware. This guide shows how to enable the UART and disable the console with raspi-config, or by editing the boot configuration manually.

Standard Serial Mode with Arduino
Control a RoboClaw motor controller from an Arduino using standard serial (Simple Serial) mode: wiring, Motion Studio configuration, and a complete example sketch that drives both motor channels with single-byte commands.
RoboClaw Basics
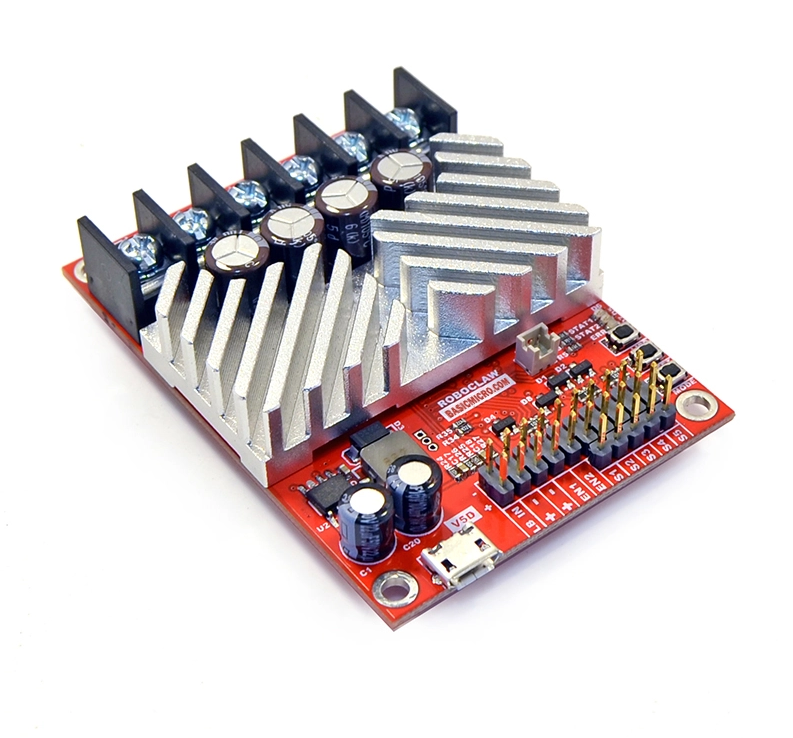
A broad overview of the RoboClaw motor controller: board layout, features, usage basics, and the voltage, current, and temperature limits that apply across all models.

Standard Serial Bus Operation with Arduino
Some robotics projects will require the use of more than one motor controller at a time. RoboClaw supports this type of operation and it’s straightforward to configure and wire.

Using Multiple RoboClaws with Arduino
Some robotic projects make use of more than one motor controller. The RoboClaw is engineered to be used in this fashion with the use of a microcontroller like an Arduino.
Analog Joystick and RoboClaw
The RoboClaw has several useful control methods, one of them being analog control. With analog control you can use a variety of user interface options so long as they output an appropriate analog voltage. In this Application Note we’ll be using an analog joystick to control two motors with the RoboClaw in analog mode.

PID Control and Motor Controllers
Motor controllers like the RoboClaw use feedback from sensors like encoders to maintain the speed and position of motors. Internally, a system called a PID controller keeps these values at their setpoints. This guide covers what a PID controller is, how the proportional, integral, and derivative terms work, and how motor controllers use them.